Alright, with that out of the way, if anyone is interested, I made a pdf worksheet you can download here to customize the pattern. Why don't I just give you the measurements? Well, I don't want to get into any trouble (that copyright thing) and after making this pincushion three times, I came out with three slightly different measurements. So, these instructions will allow you to make the adjustments necessary for your interior tube fit the ball. Use the download instructions first to calculate your measurements (you will also need the book for the pattern and instructions). The photos below just illustrate some of the steps.
In addition to the supplies listed in the book and your typical sewing notions (rulers, etc.), you will need a drafting compass, some tracing paper (I used vellum) and a calculator. Yes, there is a little geometry involved, but it's simple stuff. You remember pi, don't you?

This is my drafting compass. There are other varieties, but any should work for this method as long as it has a point on one end and a pencil on the other.

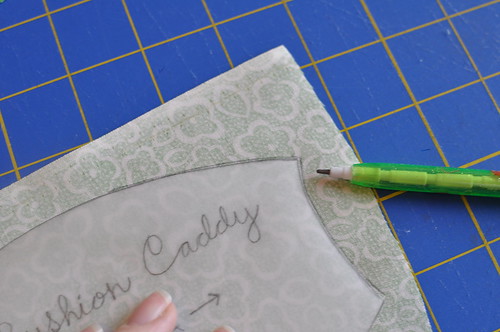
Trace pattern piece 1A from the book. If you use these instructions, this is the only pattern piece you will use from the book. You'll create the others after sewing your ball together.
Trace the shape on to your eight chosen fabrics and carefully cut them out.

Make sure they are turned the same direction. The pattern piece is not symmetrical.
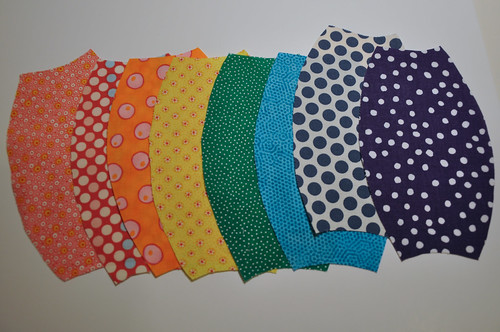
Here are my shapes cut out and ready to sew.

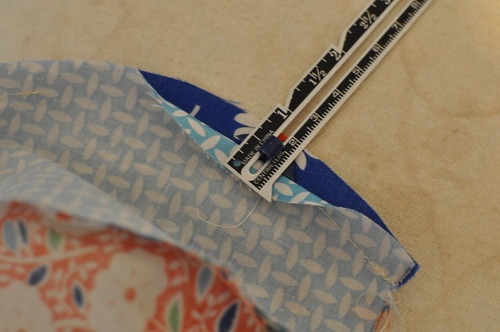
Sew these together using the instructions in the book with a 3/8" seam allowance. The 3/8" line on my machine didn't extend forward far enough, so I used a sticky note to extend it.

All eight sections sewn together.
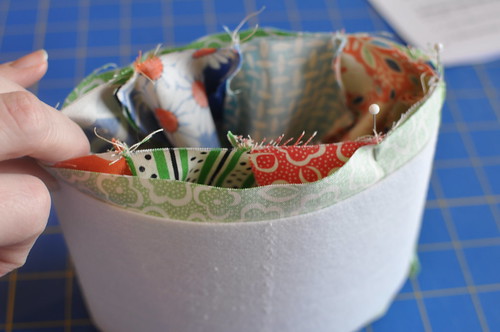
After Step 12 in the book, fold and press the seam allowances of the opening back 3/8". This will make it much easier when it's time to sew it closed.
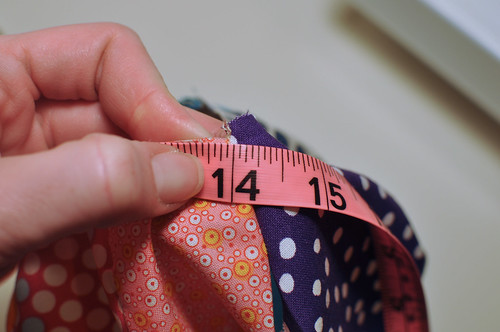
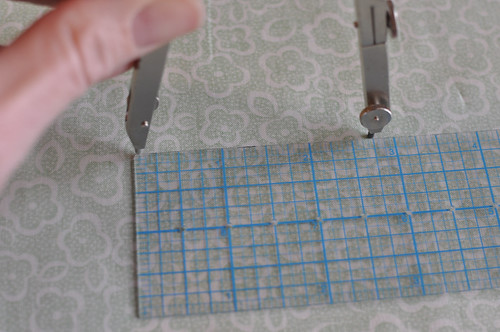
Carefully measure all the way around the opening of the ball with a flexible tape measure. Use the instruction sheet (Steps 4 through 6) to calculate the measurements for the interior tube and interfacing.
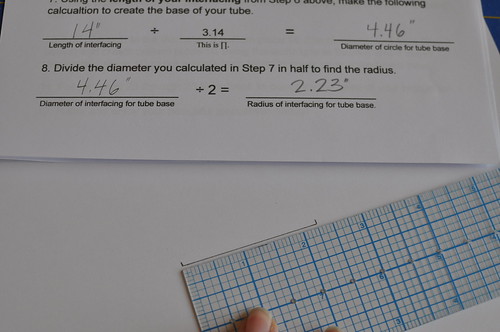
When you get to Step 7 on the instruction sheet, you'll draw a line that represents the radius of the tube base interfacing. My line needed to be 2.23", but I just used 2.25". Close enough.
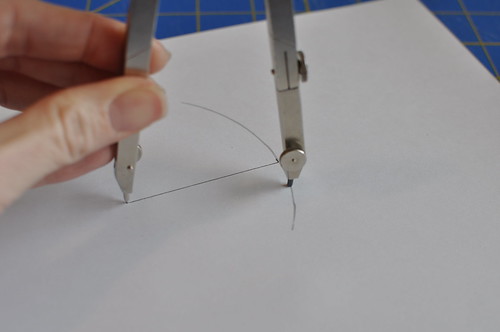
Use your drafting compass to draw this circle by placing the point on one end of the line and the pencil on the other. Rotate the compass to complete the circle.

This will be the pattern piece for your tube base interfacing. Don't use my measurements, be sure to measure your ball and calculate your measurements.

You'll use the same technique to draft a circle for the tube base fabric.

This is the interfacing I used. It is really thick. I bought it at JoAnn a while back, but I'm sure it's still available.

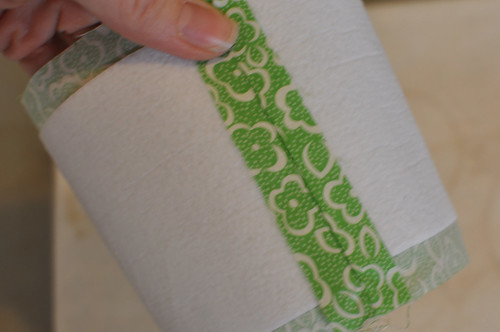
Cut out the fabric and interfacing for the tube base along with the tube fabric and tube interfacing (not pictured). You'll use the book's instructions to sew the tube and attach it to the ball, but I've got a few tips.

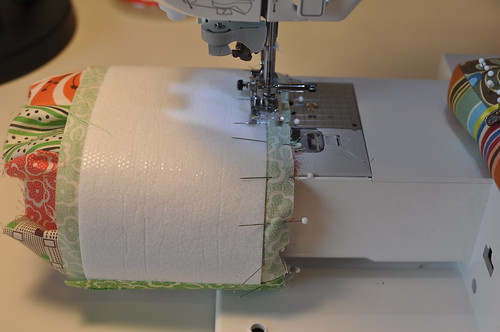
I used rulers to ensure that the interfacing was centered on the tube (1/2" seam allowances).

Make sure the needle is as close as possible to the interfacing when you sew the tube closed. I had to lift the presser foot slightly to help it onto the interfacing.
If you used double-sided fusible interfacing, just iron the seam allowances down. If not, you'll need to baste them per the book.
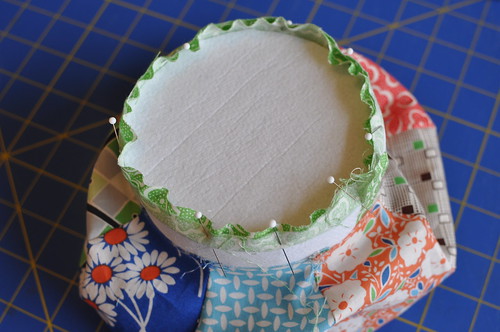
Here's what it looks like at Step 19 in the book.
Again, make sure the needle is as close as possible to the interfacing and try to smooth out the puckers. I still got a few tiny puckers despite my best effort, but I think it comes from the ball not being pulled down away from the seam, not because it doesn't fit. This step is tricky.

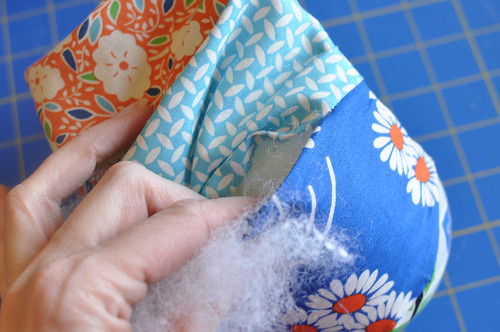
I found it easier to turn the ball to the outside if I first folded the seam allowances down around the tube. The fit is very tight.

Placing the tube base inside the tube.
I pinned it in place before hand sewing.
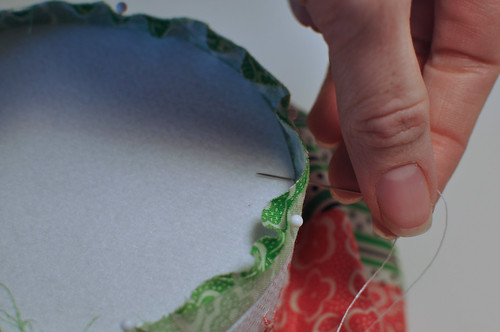
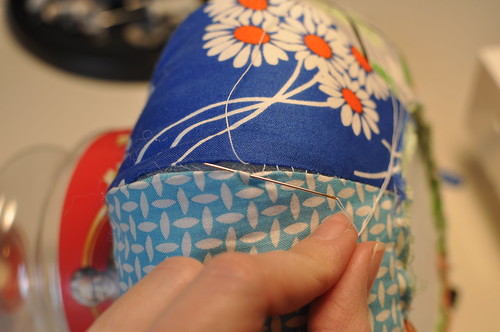
When you sew the base to the tube, be sure to get the needle as close as possible to the interfacing.
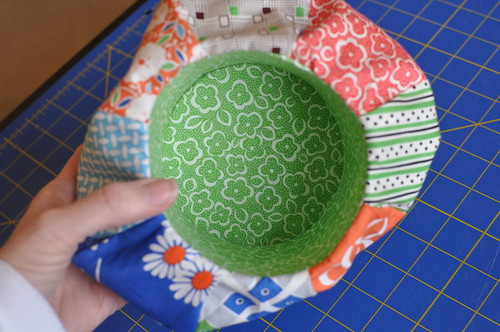
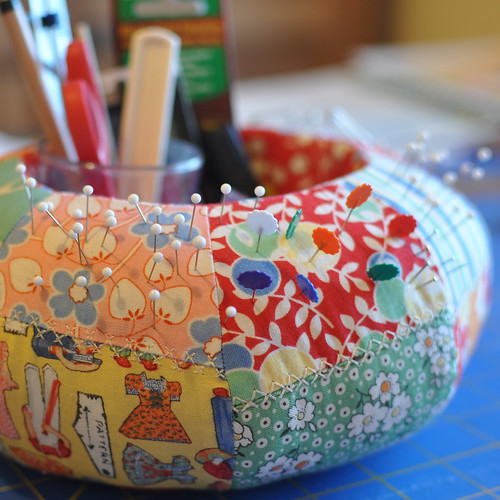
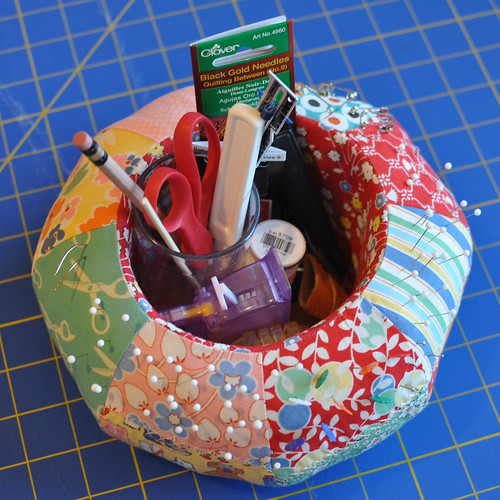
The completed interior tube!

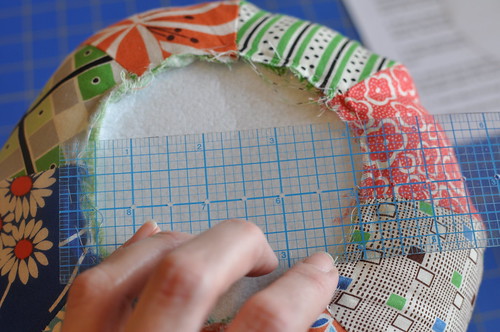
Basting the seam allowances and bottom edge of the ball together.

Pull the stitches tight to cinch the ball around the tube base and secure.
Stuffing! If you have enormous hands like me, be sure to fill the side opposite the opening before you fit a container inside the tube to help it hold it's shape.

I found a popcorn jar in my recycle bin that fit perfectly. I'll bet you can find something in your pantry that will fit. Keep this in place while you stuff the ball. You want it firm, but if you overstuff it, the interior tube will start to lose it's shape.
If you pressed the seam allowances back when you sewed the ball together, slipstitching it closed is a breeze.
Measuring the bottom for the poster board.

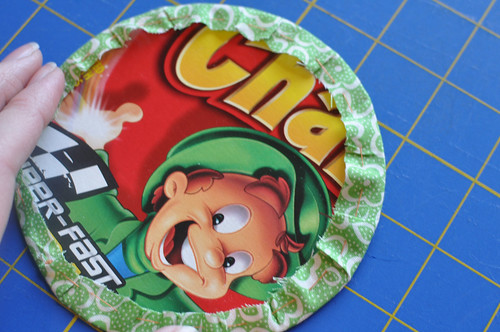
I drafted this circle directly onto my "poster board", which is actually a cereal box I found in my recycle bin.

Check the fit to make sure the board covers your stitches on the bottom.
I got really lazy and drafted this circle directly onto the fabric for the bottom.

Use the technique on page 57 in the book to fit the fabric around the base. Yes, that cereal was Lucky Charms.
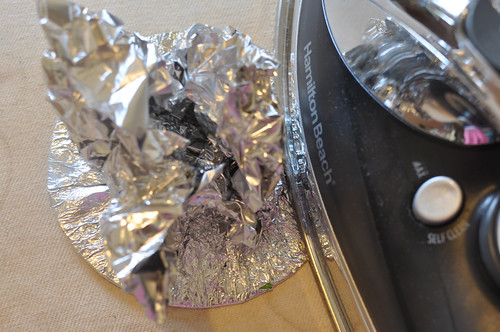
Ironing...
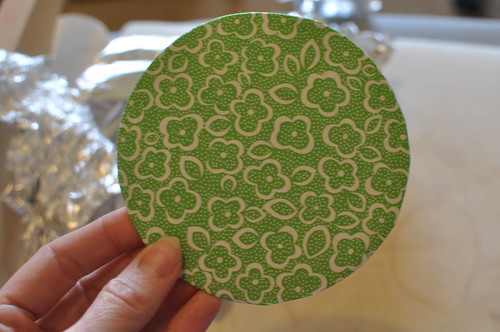
Perfect!
I basted around the edge of the fabric for the bottom and secured the thread so it wouldn't slide around while I sewed it on.
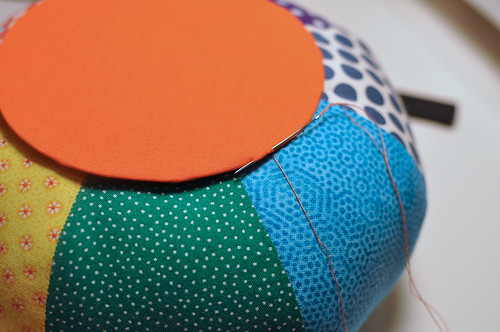
Slipstitch the bottom in place.

Still sewing...
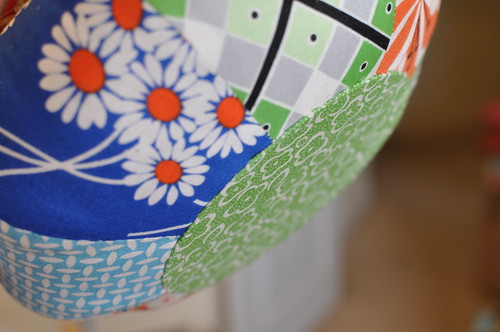
And all of a sudden, you're finished!
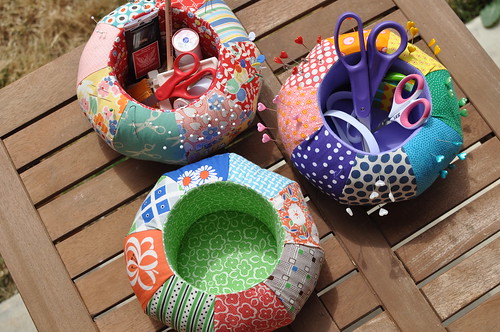
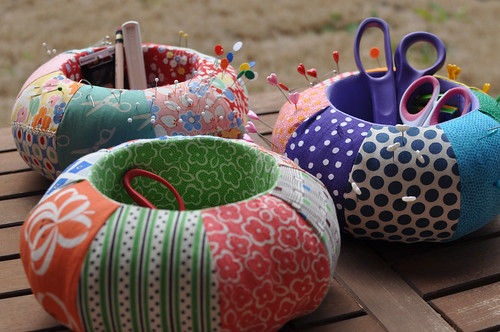
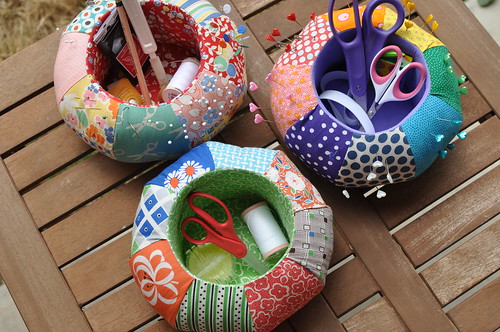
Shea is taking her pincushion (the rainbow polka dot version) to sewing class on Monday. She already organized her pins on it by color. I used mine last night while I watched TV and stitched the binding on some place mats. It's really handy!
I hope that was helpful! Let me know if you have any questions. Enjoy your weekend and your pincushion caddy!