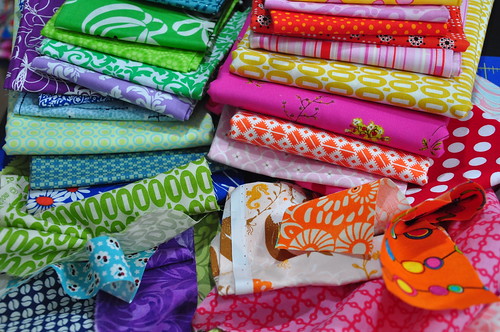
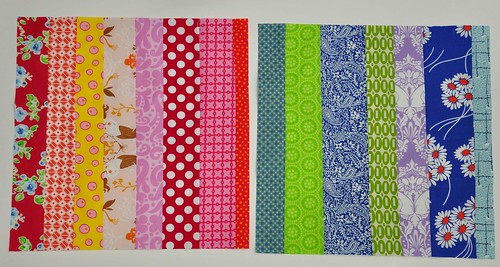
Gather some fabric and cut some strips of various widths (but nothing wider than about 3") and at least 14" long in warm colors and in cool colors. Remember from art class, warm colors are reds, oranges, and yellows. Cool colors are blues, greens and violets. Try to choose scraps/fabrics that have an obvious color feel to them.
Sew your warm strips together lengthwise and trim into 13" blocks. Do the same with the cool strips.
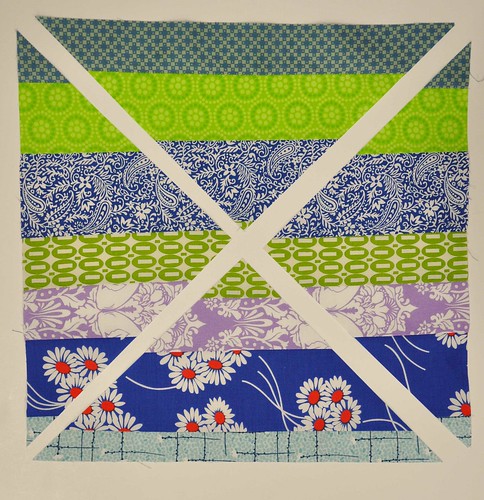
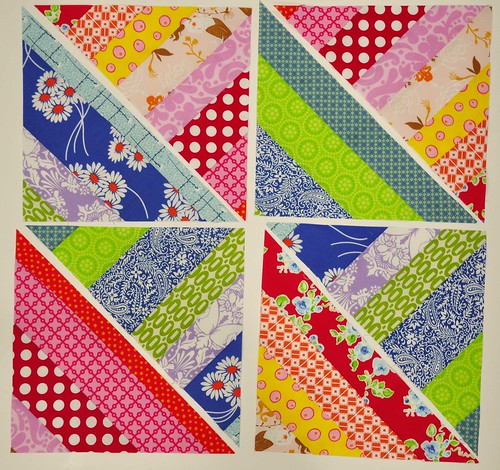
Cut both of your 13" blocks into four equal triangles.
Lay the blocks out as shown above (match a vertical warm to a horizontal cool, a vertical cool to a horizontal warm, etc.) and sew each set together to make four blocks.
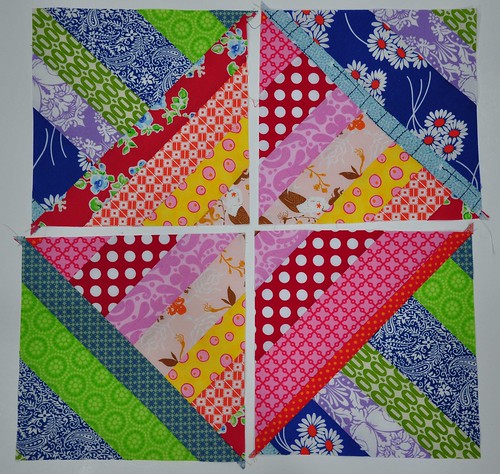
This is what you'll end up with, four approximately 9" blocks. If you are in my bee group, please don't trim the blocks before you send them to me. If you aren't in my bee, by all means, make some more, trim them up and sew them together!

21 comments:
Cute cute! Love the easy factor!
What a great block! That looks fabulous.
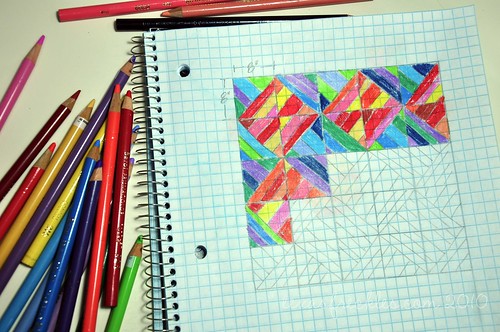
Oh I just love peeking into other artists 'sketch' books! So thanks for the peek. And what a great tutorial. I might just have to try this one!
This is a great block idea - easy but great impact
What a fab quilt idea! I can imagine it looking lovely in a low volume version as well. I'll just add that to my "To Make' list...
Love your block and quilt, Melanie. I agree, easy yet such an impact. Thank you for sharing.
I just giggled when I saw your block choice for this month. We must have a similar creative juice flowing because I have been playing with cutting up and reassembling pieced/stripped blocks for the last week. needless to say, these will fit right in with what I am working on!!. LOL, us creatives do really think alike.
Fabulous! Thanks for sharing, I love seeing your sketch come to life!
Simple, yet plenty of impact. I'm going to allow myself to dip into yardage for this one. I love separating warm and cools!
Love these blocks! I'm going to have to make some after the holidays.
That's a great block!
I think this tutorial is absolutely brilliant. Thanks so much, Melanie!
Very clever! I need to give this a try!
Ooh - these are great! Filing this away in the try-it-soon category. Thanks for sharing!
Very clever way to save time. The block looks great. I love it.
Take your two different blocks, lay them right sides together, one with the pattern going left and right the other with the pattern going up and down. Sew a 1/4" seam all the way around the outside of the blocks. Then make two diagonal cuts. Open the new blocks up, press the seams which ever way you want them to go and you will have 4new triangle squares each with opposing pattern. I hope you can visualize this...it's an easier way to make the blocks. I think I saw this idea on the Quilting Club Facebook page...I certainly didn't think of it myself.
I already picked out the fabrics and am going to give this one a go. Thanks for sharing!
I love this! I've been hoarding strips/scraps for a while to make another string quilt, but was kind of dreading the monotony of it. This is the perfect thing to switch it up. So cool!
I'm in charge of the charity quilts our congregation makes each year...mainly with non-sewers trying to make blocks, using my scraps.
This year we are going to use your block and see what we get.
Thanks.
I used Anonymous's tip to sew around the block, then cut. It works but you end up with all of 2 blocks next to each other. You will get more variety if you don't follow Anonymous' tip.
Thanks for the great tutorial. This is what I came up with: http://savvystitch.blogspot.com/2011/04/ashers-baby-quilt.html
Post a Comment